

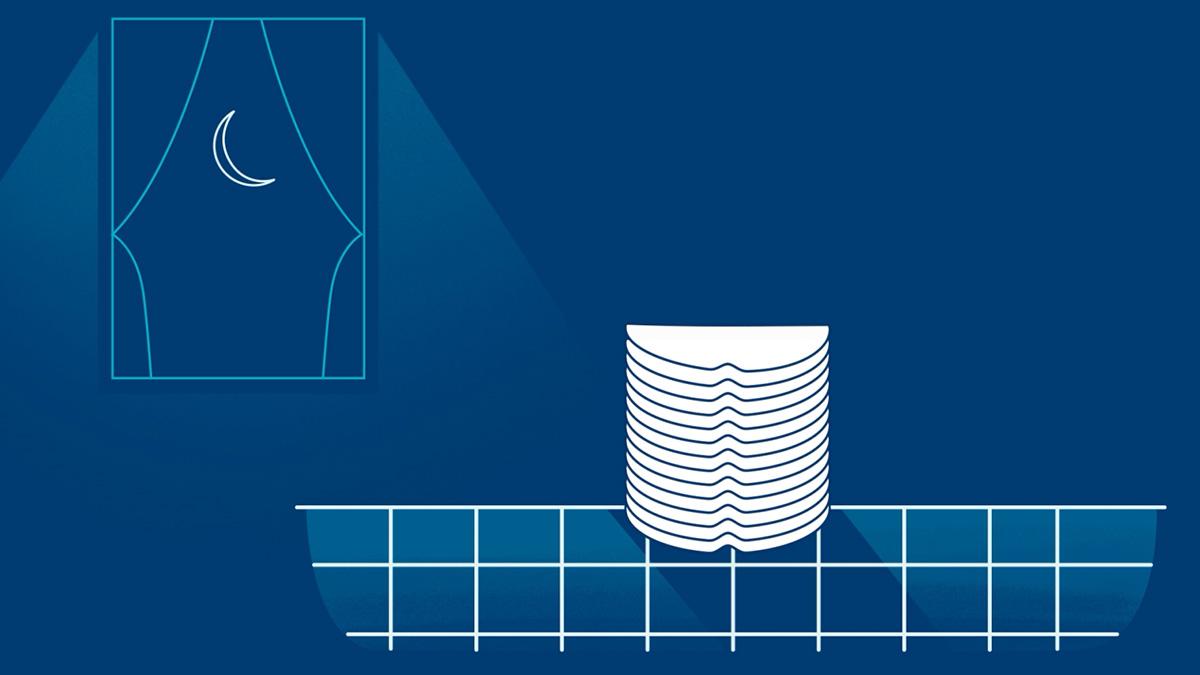
When you know how to use Seabond, you'll get superior all-day hold, a custom fit, plus an easy morning routine, and quick clean-up at the end of the day.
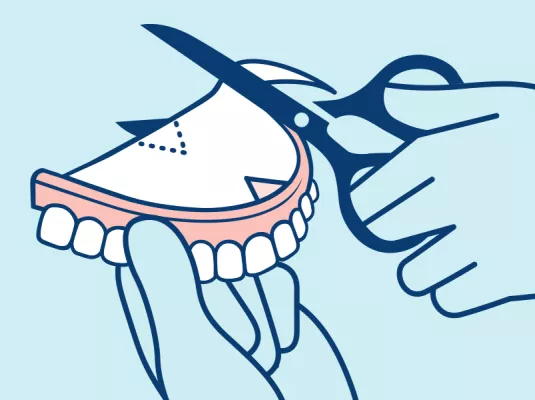
Place dry seal onto clean, dry denture. Trim any overlap with scissors. If the upper seal bunches up in back, cut a second “V” in back. Once size is right, trim all seals in package to match.
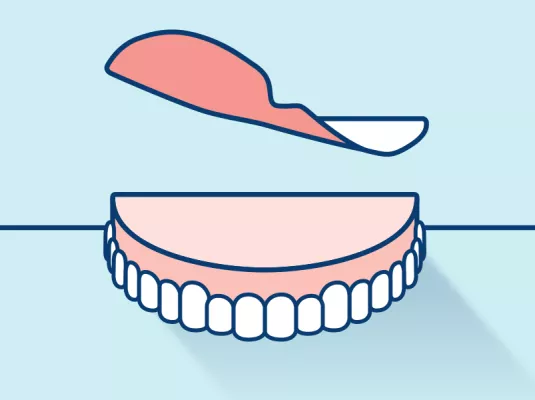
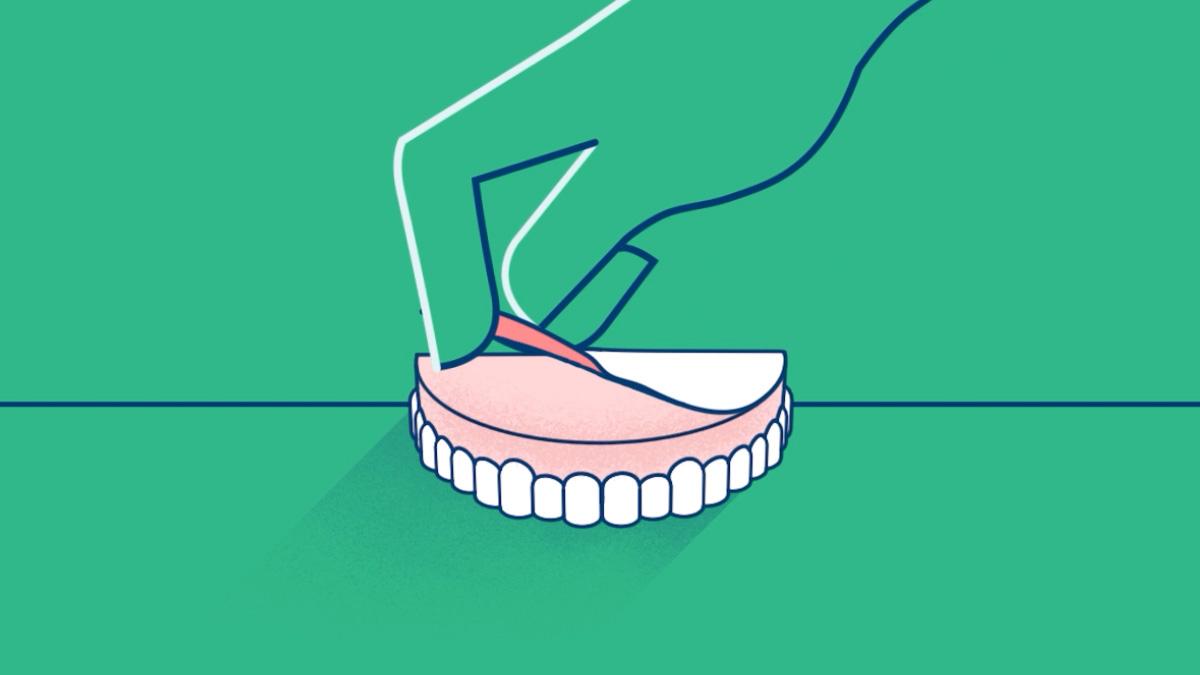
Lightly moisten seal with water. Place moistened seal on denture, WHITE SIDE up, PINK SIDE down. Tap into place with finger. Do not oversaturate.
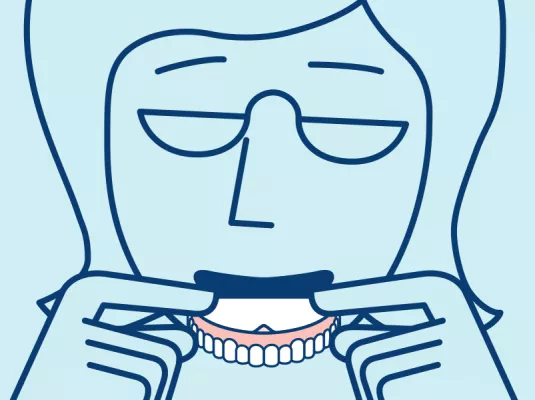
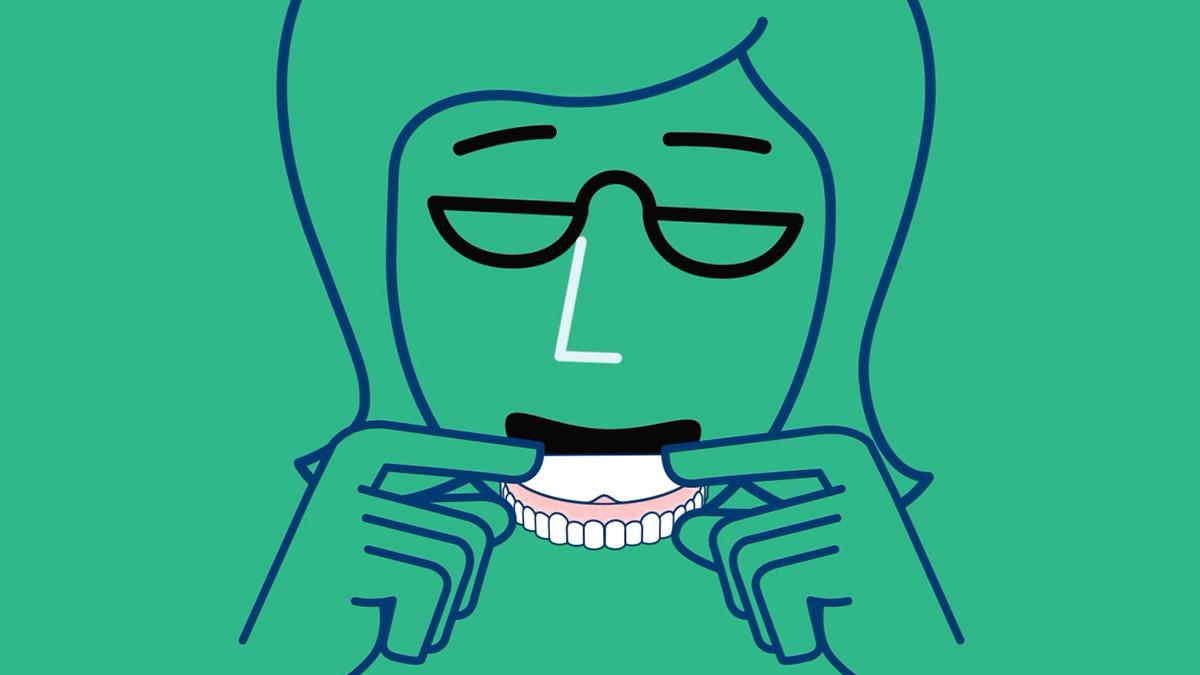
Put denture into mouth and bite down evenly for 5 seconds.

Place dry seal onto clean denture. Trim any overlap with scissors. Once size is right, trim all seals in package to match
Lightly moisten seal with water. Place moistened seal on denture, WHITE SIDE up, PINK SIDE down. Tap into place with finger. Do not oversaturate.

Put denture into mouth and bite down evenly for 5 seconds
REMOVING SEABOND IS EASY
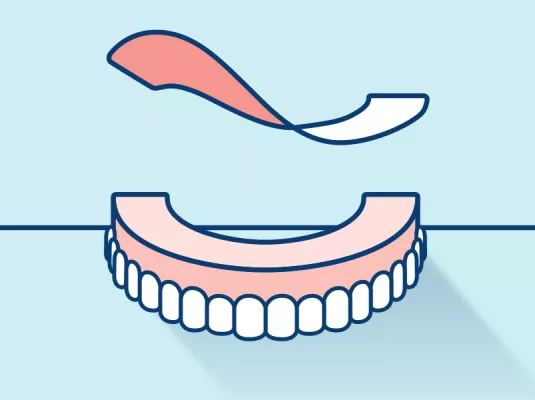
To remove the cushion from your denture, simply lift the corner and peel away. It's that easy. The easy removal of Seabond is unlike denture pastes, which can stick to dentures and require time-consuming scraping to get clean.
WATCH THESE SHORT VIDEO TIPS
TIPS FOR EASE OF USE

Once size is right, use this as your template. Trim several seals in package to match template to save time, making your morning routine fast & easy.

If upper seal bunches in back, cut a second 'v' in back.

Lightly moisten with water

Lift corner and peel away. One seal lasts all day. Change seal daily.